
Store-bought lotions often contain harsh chemicals and synthetic fragrances that can irritate sensitive skin. Also, they’re expensive, and you never really know what’s going into your body through your skin.
However, I’ve found that creating your own homemade lotion recipe is easier than you think, and it gives you complete control over every ingredient that comes into contact with your skin.
Here, I’m sharing simple lotion recipes that you can make at home using natural ingredients, along with tips for achieving the perfect consistency and storage methods to keep your lotion fresh for months.
Why Should You Make Your Own Homemade Lotion?
Making their own lotion puts people in complete control of what goes on their skin.
Commercial lotions often contain parabens, sulfates, and artificial fragrances that can cause irritation or allergic reactions.
Creating lotion at home costs significantly less than buying premium products. A single batch typically costs under $5 but produces the equivalent of a $20 store-bought bottle.
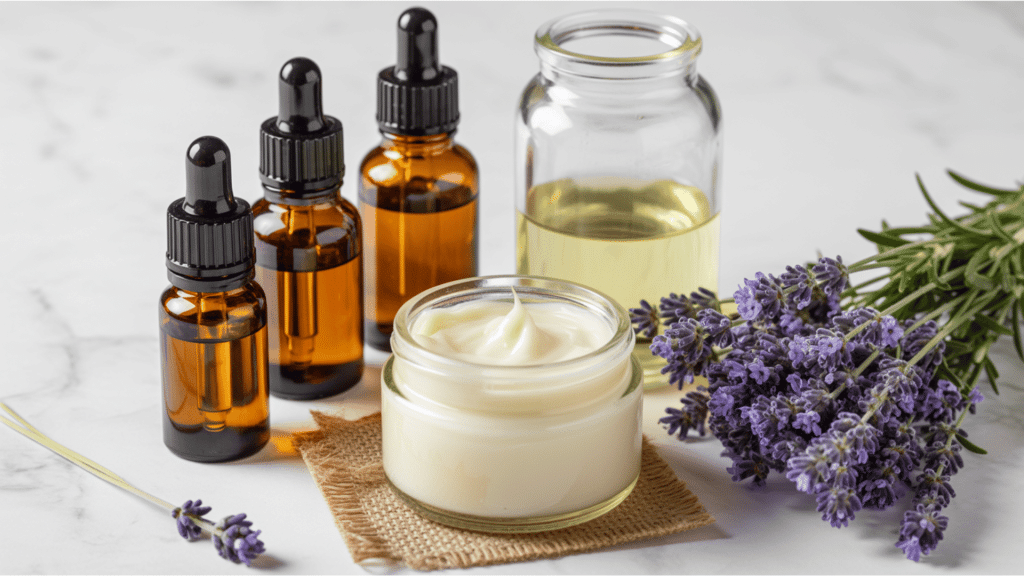
Natural ingredients, such as shea butter and coconut oil, provide superior moisturizing benefits without harsh chemicals.
Individuals with sensitive skin, eczema, or allergies tend to benefit most from custom formulations.
Additionally, homemade versions contain no preservatives that artificially extend shelf life. Fresh lotion means maximum potency and effectiveness for healthier skin.
Essential Tools and Materials Needed
Making lotion at home doesn’t need a cluttered workspace or dozens of ingredients. With just a few carefully chosen tools and materials, anyone can create a safe, stable, and nourishing homemade lotion recipe.
Here are the bare minimum must-haves every beginner should keep on hand.
| Item | Use |
|---|---|
| Double boiler/bowls | Heat water and oil phases |
| Digital scale | Measure ingredients accurately |
| Whisk/blender | Blend into a smooth lotion |
| Distilled water | Hydration base |
| Almond oil (or any) | Moisturizes skin |
| Shea butter (or any) | Adds creaminess and richness |
| Emulsifying wax | Binds oil and water together |
| Preservative | Prevents bacteria and mold |
| Vitamin E oil | Protects oils, adds skin benefit |
Steps to Make a Natural Lotion at Home
Making lotion may sound tricky, but once the basics are clear, it becomes a simple and rewarding process. The key is knowing how to handle both water and oil safely so the final product is creamy, long-lasting, and good for the skin.
With the five steps below, anyone can create a homemade lotion recipe that feels professional yet handmade with care.
Step 1: Prepare the Water Base
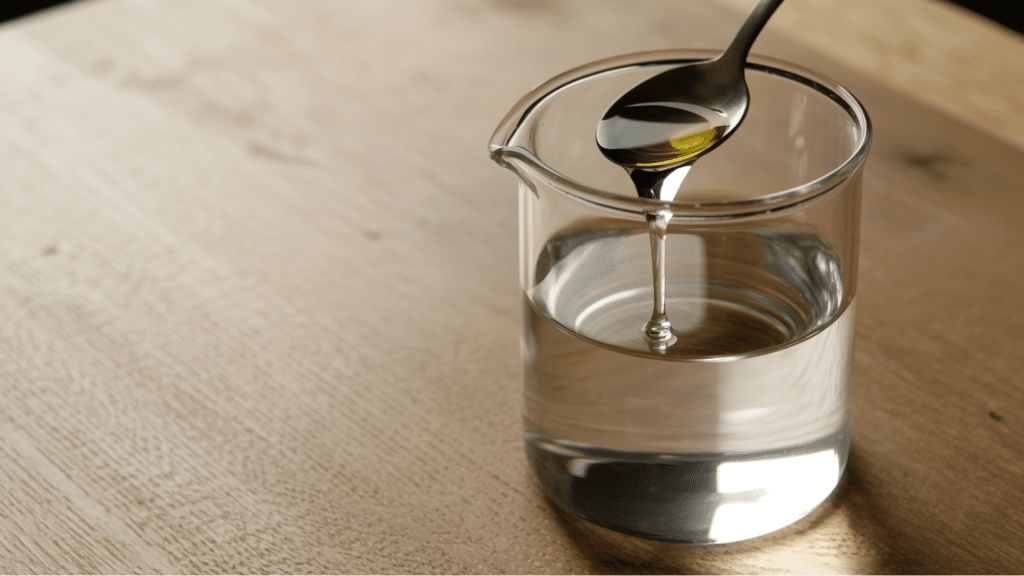
Measure the distilled (or freshly boiled) water into a heat-safe container.
If desired, mix in a humectant, such as glycerin or honey, which helps the skin retain moisture. Keep this mixture aside. Always work with clean tools to prevent the introduction of bacteria.
Step 2: Prepare the Oil Base
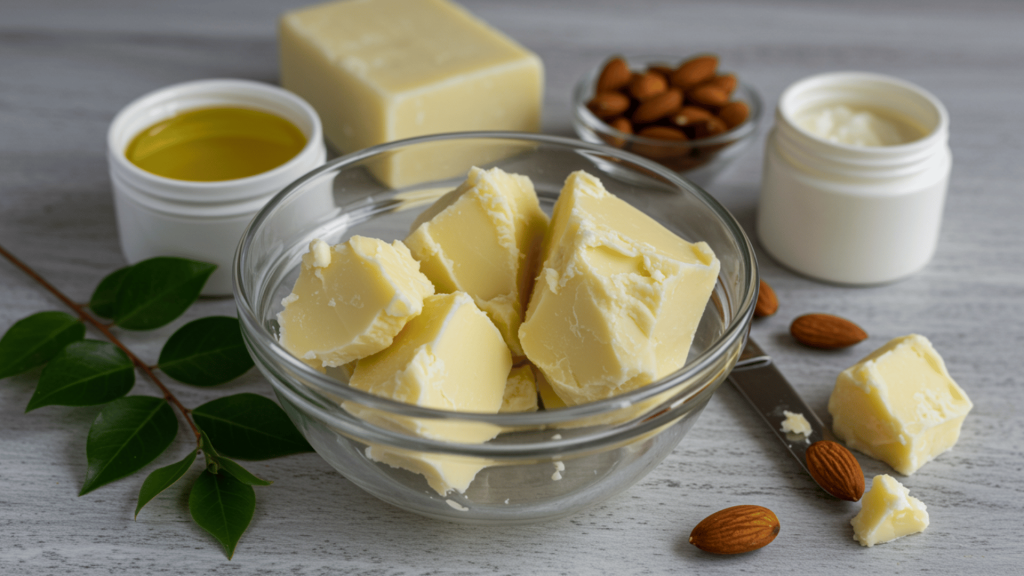
In another heat-safe container, combine your chosen oils (e.g., almond oil) and butters (e.g., shea butter).
Add the emulsifying wax to this phase; this ingredient is what allows oil and water to bond smoothly without separating later.
Step 3: Heat and Combine the Bases

Place both the water phase and oil phase into a double boiler or heat bath, ensuring they reach roughly the same temperature (about 65–70°C / 150–160°F).
Once the oil mixture is fully melted, slowly pour the hot water phase into the oil phase while stirring gently. This ensures the first stage of emulsification.
Step 4: Blend Until Thickened
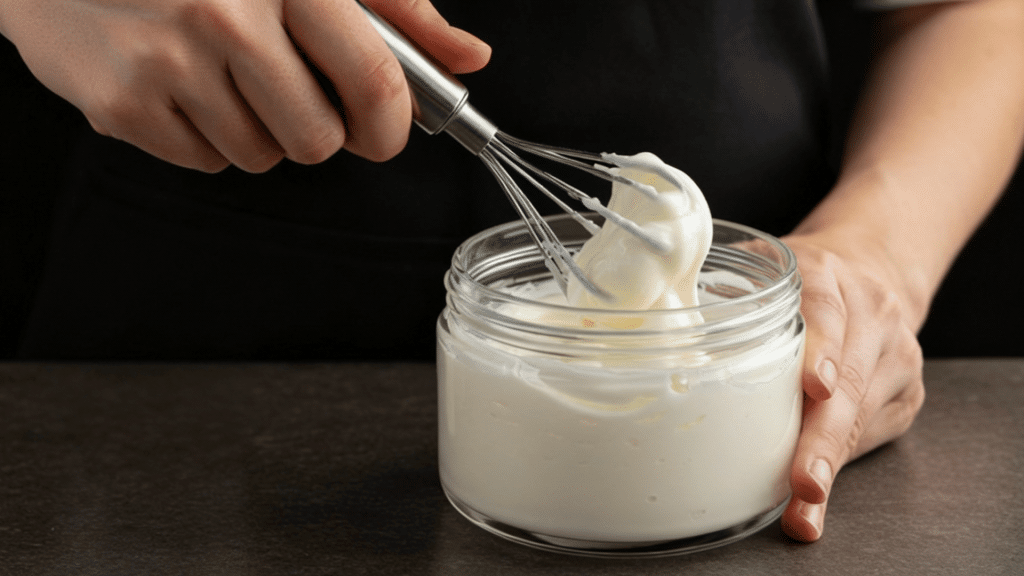
Use an immersion blender, whisk, or milk frother to blend the mixture continuously for several minutes.
As the lotion cools, it will gradually thicken to a creamy texture. If it appears too thin, allow it to cool further and blend again. Patience ensures a smooth and stable consistency here.
Step 5: Finish with Preservatives, Antioxidants, and Fragrance
When the lotion cools below 40°C, blend in a preservative to prevent bacteria, and add vitamin E oil to protect the oils.
For fragrance, use only a few drops of essential oil (under 1% of the recipe). Stir well and transfer the mixture into a clean container. Your lotion is now ready to use.
By following these five steps, anyone can create a lotion that’s safe, nourishing, and stable for months of use. Once mastered, the process is flexible, letting you try different oils, butters, and scents to make it truly your own.
How to Customize the Lotion
Creating homemade lotion allows people to control every ingredient that touches their skin. By adjusting the oils, butters, and soothing agents, anyone can design a lotion that truly supports their unique skin type and daily routine.
1. For Dry Skin
Dry skin benefits from heavier, deeply nourishing bases.
Shea butter, cocoa butter, and almond oil create a thick, hydrating blend that locks in moisture. Adding vitamin E helps repair and protect, while honey offers natural humectant properties.
This combination works best when applied after bathing, leaving skin soft, smooth, and well-hydrated.
2. For Oily Skin
Oily skin does better with lighter, non-greasy formulas. Aloe vera gel makes an excellent base, while jojoba oil closely mimics natural sebum, balancing oil production.
A few drops of tea tree or lavender oil add antibacterial benefits. This kind of lotion keeps skin hydrated without clogging pores, making it fresh and shine-free.
3. For Sensitive Skin
Sensitive skin requires calming and soothing ingredients. Chamomile infusion, oatmeal extract, or calendula oil helps reduce irritation and redness.
A light base of coconut or sunflower oil keeps the formula gentle and non-reactive.
Fragrance-free versions are ideal, as they ensure the lotion nourishes the skin without triggering discomfort, leaving it feeling calm, soft, and protected.
4. For Combination Skin
Combination skin requires a balance of lightweight hydration for oily areas and richer moisture for drier patches. Aloe vera gel blended with a touch of jojoba oil provides even coverage without heaviness.
Adding green tea extract can help regulate sebum while soothing sensitive zones. This balanced mix ensures harmony across different facial and body areas.
With simple swaps and thoughtful additions, anyone can create a product that feels nourishing, safe, and effective, turning skincare into a mindful self-care practice.
Tips to Make It Better
Even a simple homemade lotion recipe can benefit from professional techniques that improve texture, shelf life, and performance.
These proven methods help create smoother, longer-lasting lotions every time.
- Temperature control ensures proper emulsion – heat oils and water phase to exactly 160°F before combining to prevent separation
- Blend thoroughly with an immersion blender for 2-3 minutes to create a silky, lump-free texture that absorbs beautifully into skin
- Add preservatives like vitamin E oil or rosemary extract to extend shelf life from weeks to several months without refrigeration
- Test pH levels using strips – aim for a 4.5-6.5 range to match the skin’s natural acidity and prevent bacterial growth
Quality ingredients, combined with proper technique, create lotion recipes that rival expensive commercial brands while remaining completely natural.
Conclusion
Creating your own homemade lotion recipe has changed my approach to daily beauty routines. No more wondering about mysterious chemicals or paying premium prices for basic moisturizers.
With these techniques and customization tips, you’ll develop confidence to experiment with different formulations that work perfectly for your unique skin needs.
Ready to start your first batch? Gather your ingredients today and begin with the basic recipe. Your skin will thank you for the natural, chemical-free care it deserves.