Your bedroom’s looking a little bland, and you know it needs something. I get it, we all want that magazine-worthy look, but who has hundreds to drop on a fancy headboard?
That’s where homemade headboard ideas, cheap enough for any budget, come to the rescue.
You don’t need to be a master craftsman or own every tool in Home Depot. Just some creativity, a free weekend, and maybe a trip to the thrift store.
You can create something surprising for under fifty bucks. And honestly, the satisfaction of making it yourself beats any store-bought piece. Ready to jump in?
Can a Cheap Headboard Still Look Stylish and Modern?
A cheap headboard can still look stylish and modern if you focus on creativity rather than cost.
With a little DIY effort, you can modify simple materials like plywood, fabric, or even repurposed doors into a statement piece that uplifts your bedroom’s overall design.
The key lies in choosing clean lines, neutral tones, or bold textures that match your décor. Upholstery with inexpensive fabric, peel-and-stick wallpapers, or a fresh coat of paint can instantly elevate a plain headboard.
Even minimalist designs, such as a sleek wooden panel or a grid of cushions, are great examples of homemade headboard ideas that are cheap enough to create a chic, modern feel without breaking the bank.
Stylish doesn’t have to mean expensive sometimes; the simplest, budget-friendly ideas bring the most charm to your space while reflecting your personal style.
Materials and Tools Required for DIY Headboard
Before you start building your DIY headboard, gather all the essentials, and I mean everything.
Trust me, there’s nothing worse than being halfway through a project and realizing you’re missing screws or don’t have the right drill bit.
| Category | Item | Specs |
|---|---|---|
| Base | Plywood | 1/2″ thick, high-quality |
| 1×4 boards | Standard lumber | |
| French cleat | Heavy-duty set | |
| Padding | High-density foam | 2″ thick |
| Edge foam strips | 1″ thick | |
| Batting | 6 oz weight | |
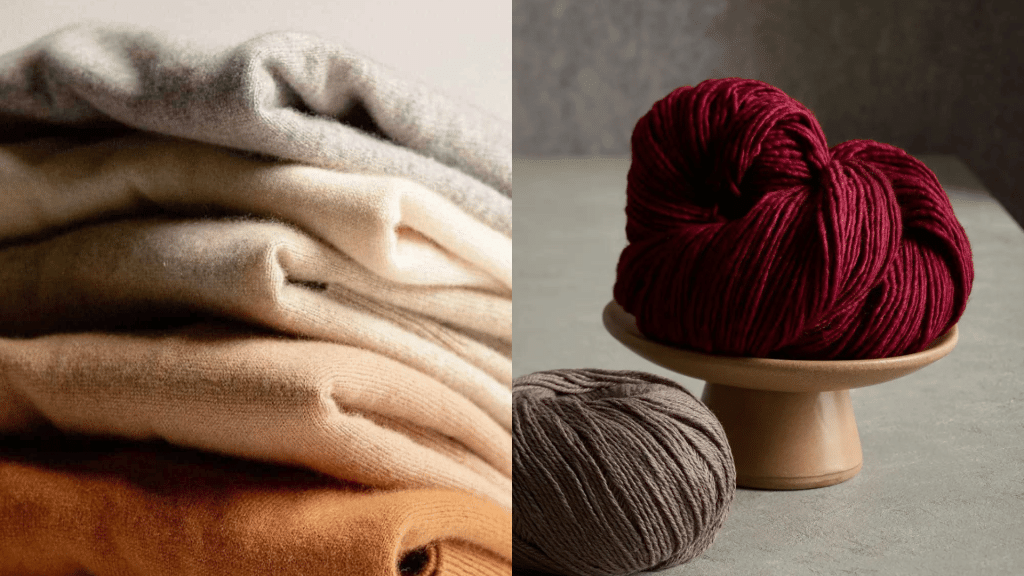
| Fabric | Upholstery fabric | Medium-heavy weight |
| Tufting buttons | 3/4″ snap-together | |
| Tufting twine | High-strength | |
| Tools | Tufting needle | 12″ long |
| Spray adhesive | Foam-safe, high tack | |
| Staple gun | Pneumatic, 3/8″ staples | |
| Drill and bits | 3/8″ and 1″ bits | |
| Measuring tools | Tape measure, square |
This simple prep ensures your homemade headboard ideas that are cheap come together smoothly and without stress
Crafting DIY Tufted Headboard
Skip the expensive furniture store markup and craft your own custom headboard using simple materials from your local hardware store.
Turn plywood, foam, and fabric into a stunning focal point that’ll make your bedroom feel like a boutique hotel suite. That’s the magic of homemade headboard ideas that are cheap, a powerful style on a budget.
Step 1: Plan and Prepare the Base
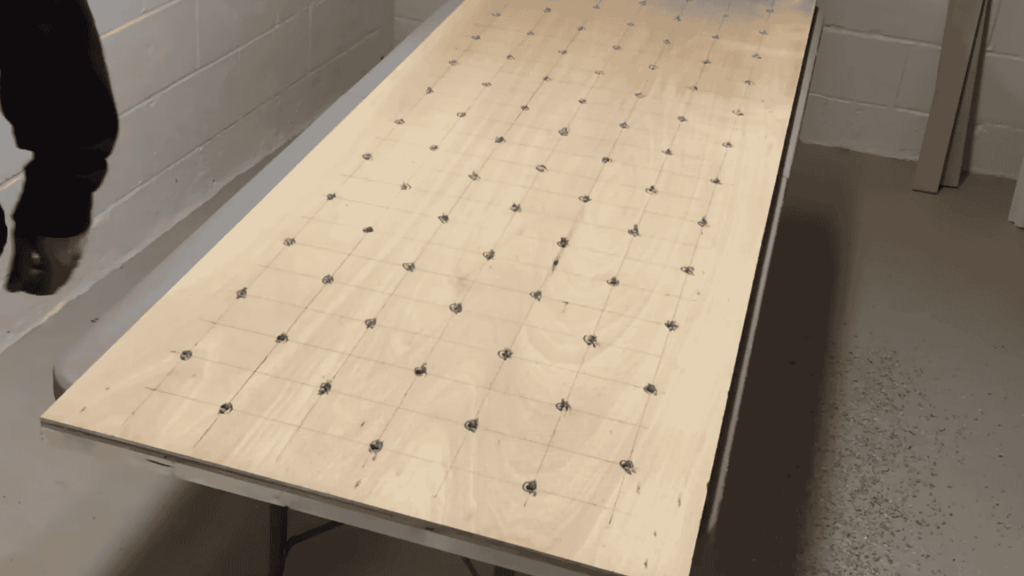
Begin with a solid foundation by cutting high-quality plywood to match the width of your bed. This will be the canvas for your tufted masterpiece. Reinforce the back with a simple 1×4 frame.
which not only prevents warping but also provides the perfect depth for your tufting twine to anchor securely.
- Cut high-quality plywood to your bed’s width.
- Add a simple 1×4 frame to the back for stability and extra thickness.
- Mark a diamond-tuft grid (about 5.5 in × 6.5 in spacing) and drill holes at each point.
- Use a French cleat set aside for later mounting.
Step 2: Add Foam and Batting
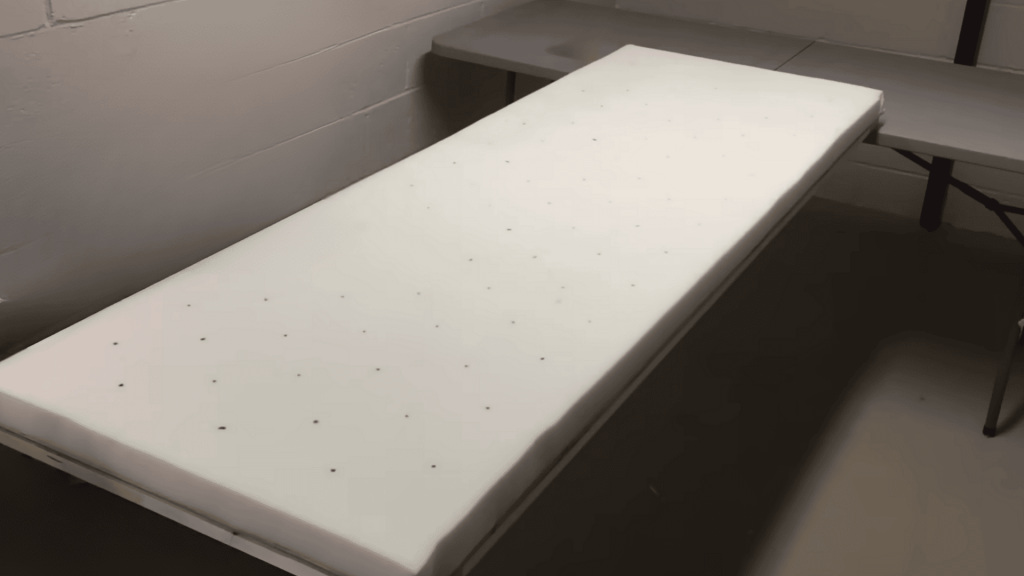
The added thickness gives an upscale headboard its plush, luxurious look. One-inch edge foam strips act as a secret weapon, wrapping around the sides to hide harsh wood edges.
Generously apply spray adhesive over the foam, then cover the entire headboard with batting, smoothing it out to remove any bumps or wrinkles.
- Glue two 1-inch-thick high-density foam pieces to the plywood face.
- Add 1-inch foam strips along the sides to hide the wood edges.
- Spray adhesive, then cover with batting to soften edges and prep for fabric.
Step 3: Prep Fabric and Buttons
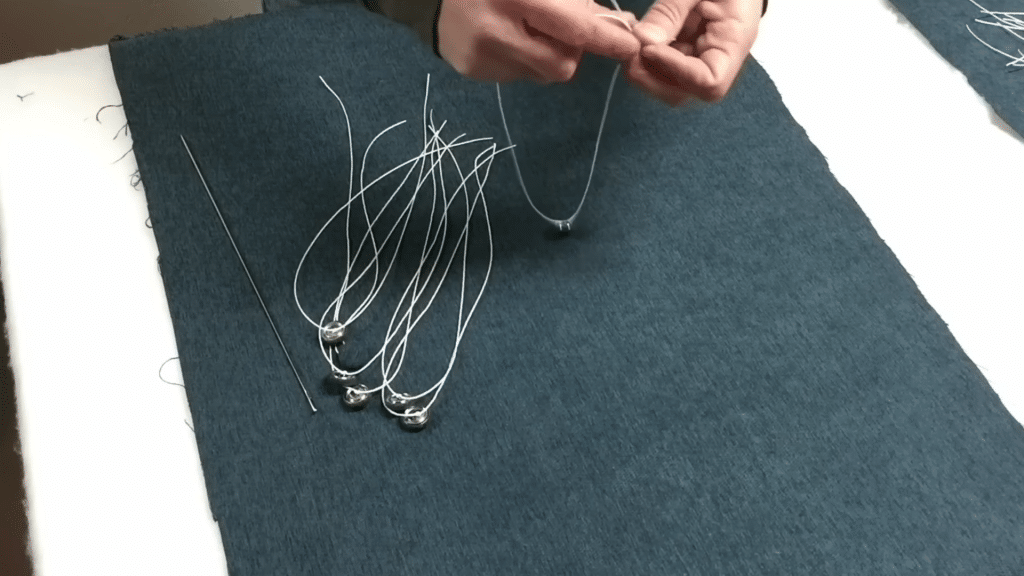
Take the time to carefully cover each tufting button with your chosen fabric. These small details will become focal points that draw the eye across your finished headboard.
Position your main fabric over the padded headboard, allowing at least 6 inches of excess on all sides, to ensure that any pattern or grain runs perfectly straight for a professional appearance.
- Cover tufting buttons with matching fabric.
- Lay fabric over the headboard, leaving extra on all sides.
- Thread tufting twine into a long needle for buttoning.
Step 4: Tuft and Secure
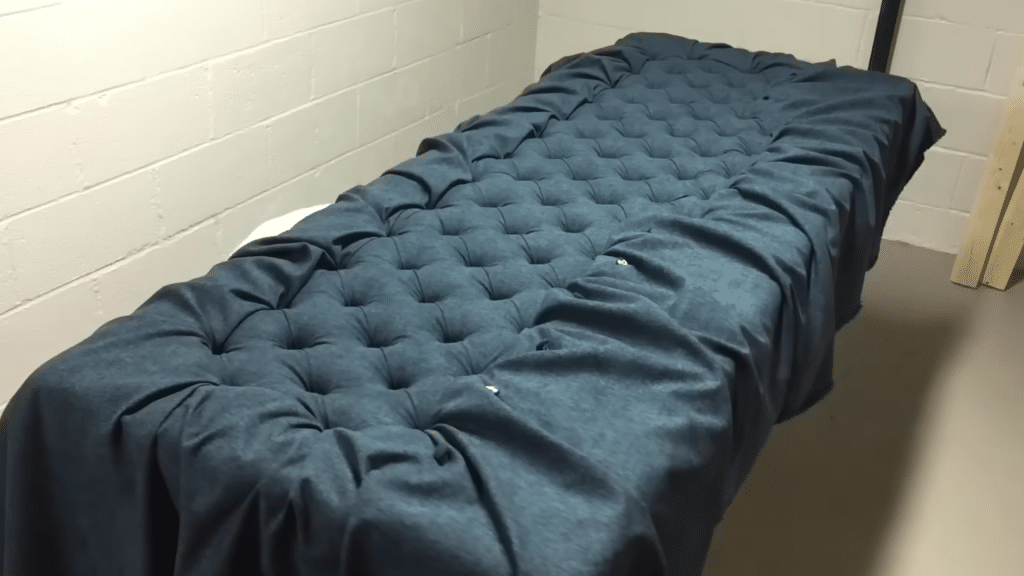
Push the needle through from back to front, thread on a fabric-covered button, then pull the twine back through with steady pressure until the button sinks deeply into the foam, creating that coveted tufted dimple.
Secure each button’s twine on the back with 6-7 staples in a tight zig-zag pattern; this redundancy ensures your tufts won’t loosen over time from leaning against the headboard.
- Push the needle from back to front, attach a button, and pull tight to sink into the foam.
- Staple the twine firmly to the back (using 6–7 staples in a zig-zag pattern).
- Work row by row, shaping pleats evenly as you go.
Step 5: Finish and Mount
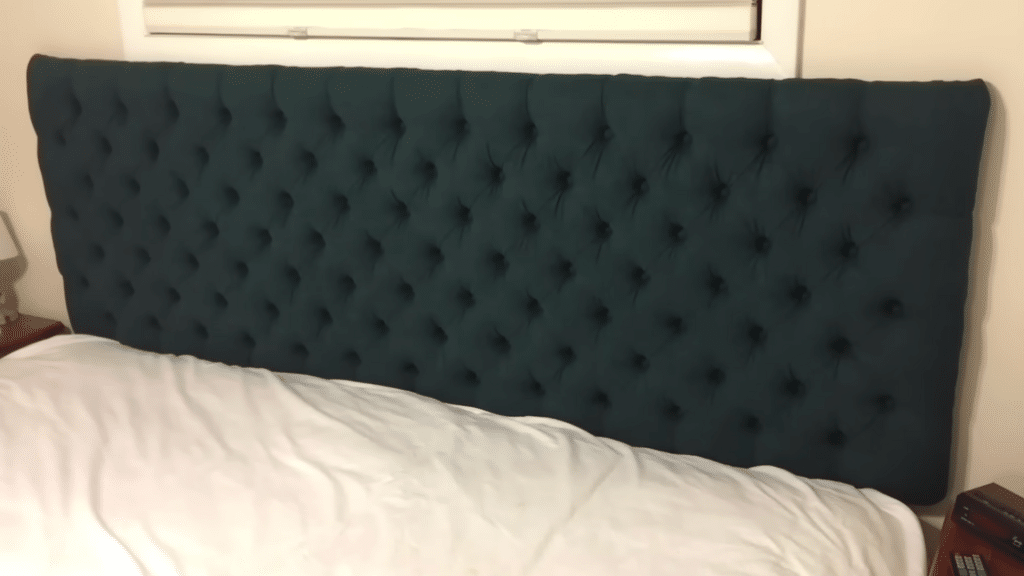
Pull the fabric snugly around the edges, alternating sides to maintain even tension, and staple every 2–3 inches. Opt for hospital corners to achieve a crisp, structured look, or opt for soft curves for a more romantic style.
Finally, trim away excess fabric close to the staple line with sharp scissors, leaving just enough to prevent fraying while keeping the back neat and presentable.
- Pull and staple fabric neatly around the edges (rounded or square finish).
- Trim extra fabric.
- Attach the French cleat to the frame and wall studs, then hang.
- Smooth fabric, check pleats, and admire your new DIY headboard.
For More Detailed Instructions, Refer to The YouTube Video Below:
Stylish and Cheap Homemade Headboard Ideas to Try
Any bedroom, from ordinary to extraordinary, with these budget-friendly DIY headboard projects.
Each of these homemade headboard ideas that are cheap shows how resourceful design can deliver a luxury feel without the luxury price.
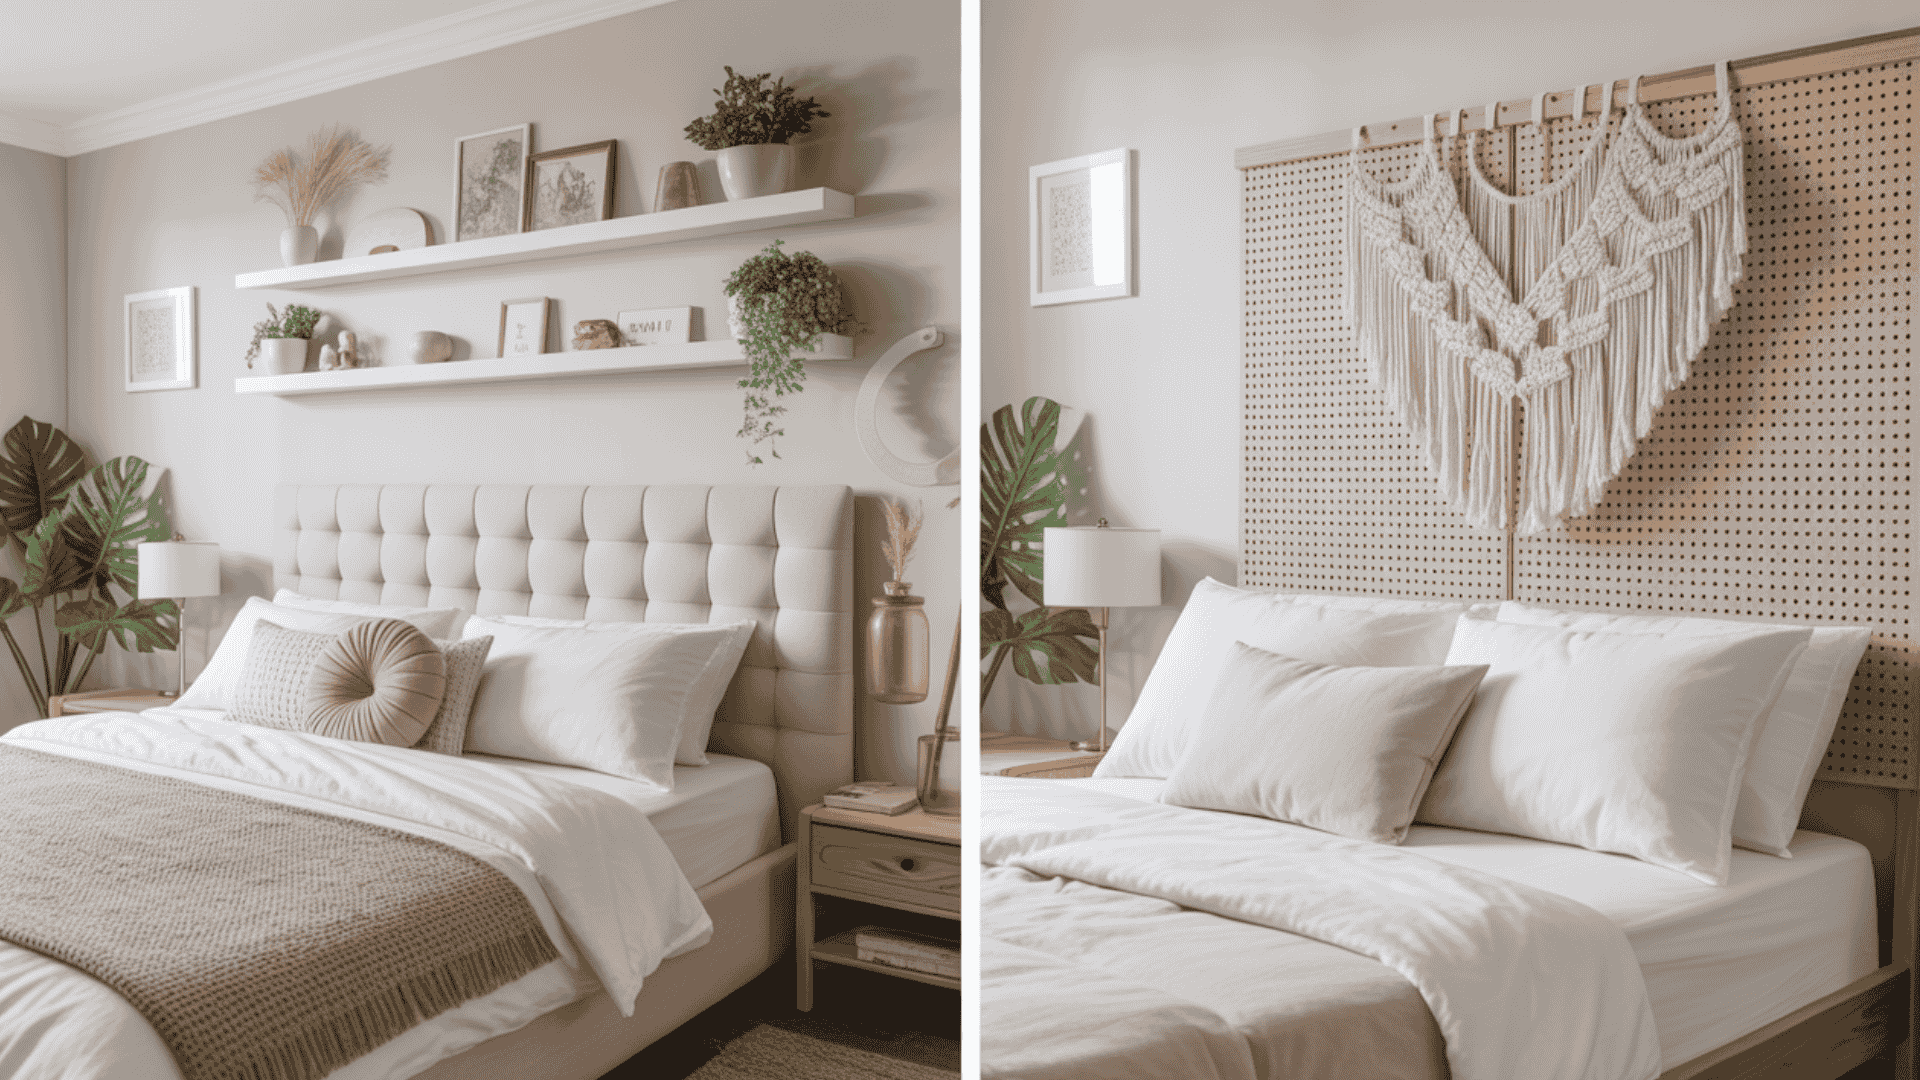
1. Floating Shelf Headboard
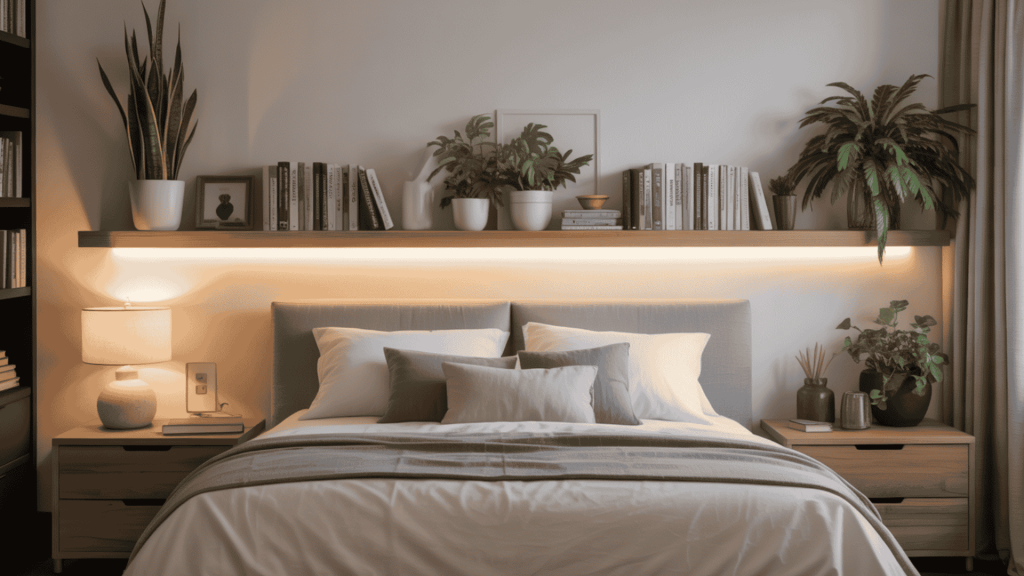
A thick wooden shelf above the bed creates a clean, minimalist headboard. By adding LED strips underneath, the shelf doubles as soft, ambient lighting, perfect for cozy nights.
It also offers space for books, plants, or décor, while the floating design keeps the floor clear and the room feeling open.
Installation takes about an hour with sturdy wall anchors, and the shelf can be painted or stained to match existing furniture.
2. Reclaimed Pallet Headboard
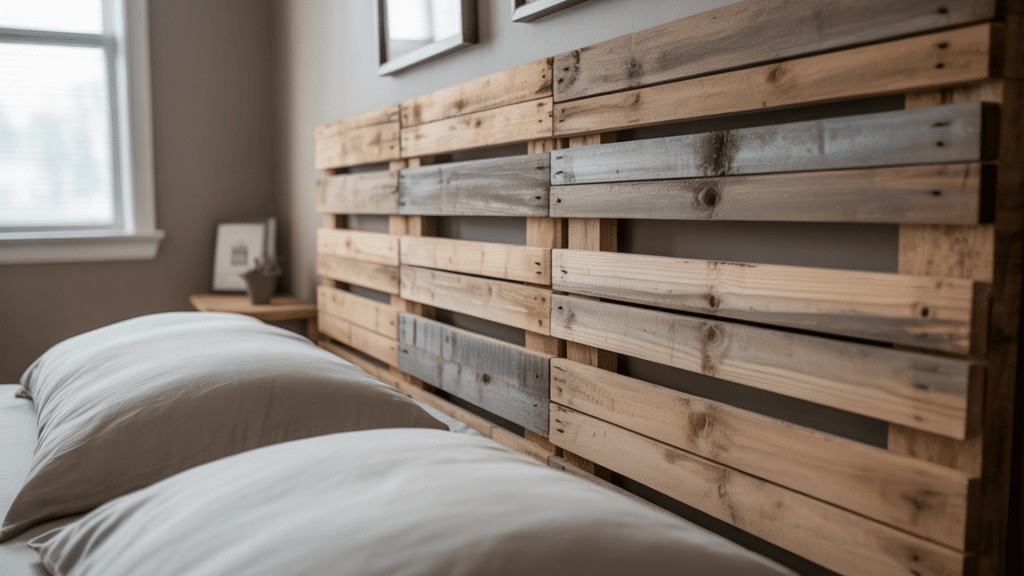
A reclaimed pallet headboard offers an affordable way to add rustic charm to your bedroom using salvaged wood.
Simply disassemble wooden pallets, sand the boards smooth, and arrange them in your preferred pattern before mounting them to the wall or a backing board.
This DIY project costs under $50 and creates a unique focal point with natural weathered texture and character that complements farmhouse, industrial, or bohemian decor styles.
3. Oversized Fabric Frame
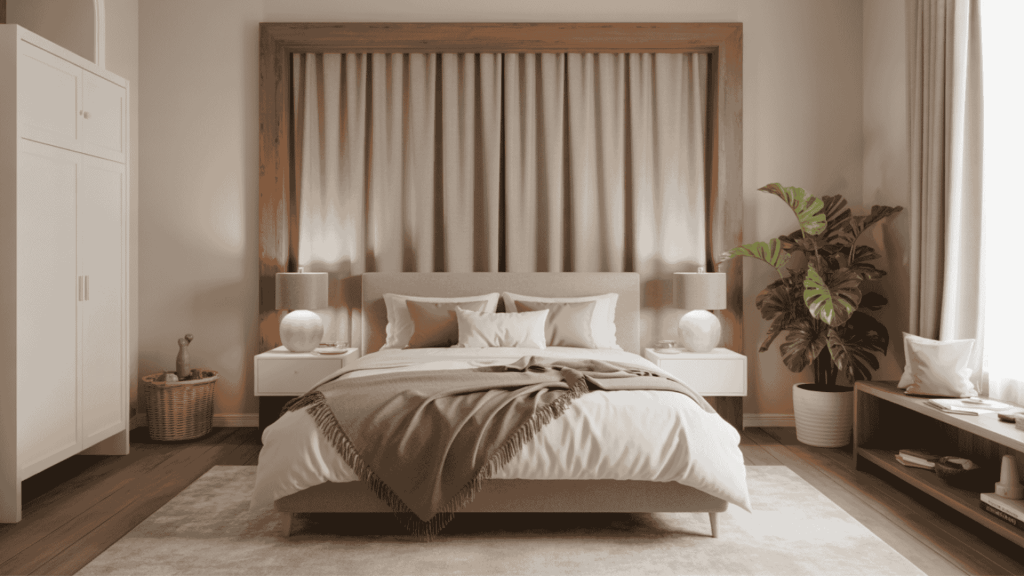
A large wooden frame wrapped in fabric creates a hotel-style headboard without the big price tag. Velvet adds a touch of glam, while linen keeps things casual.
A bit of batting gives it a plush look, and the fabric can be swapped seasonally for a fresh vibe. Quick to build and infinitely customizable.
4. Pegboard Wonder
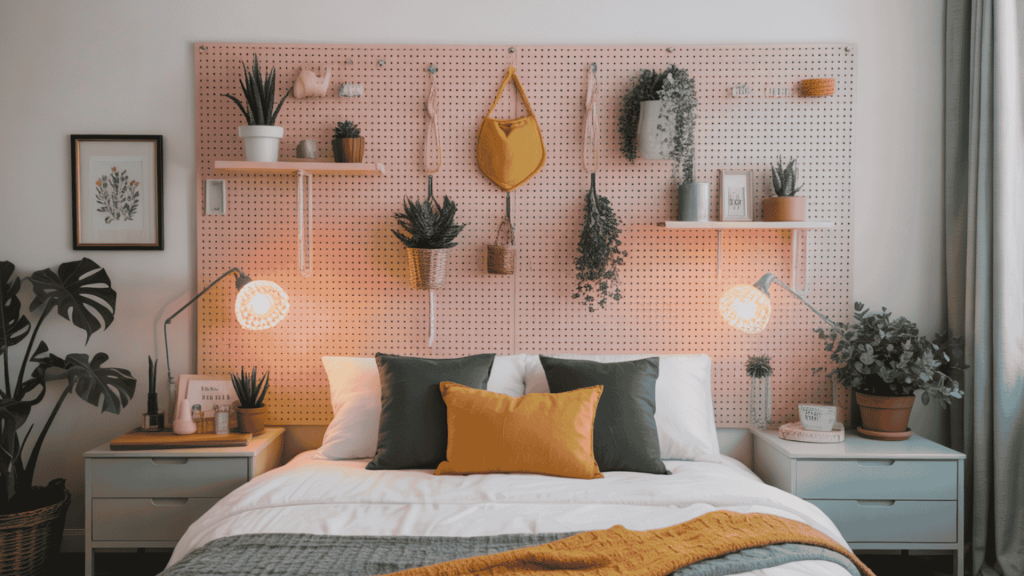
A painted pegboard becomes a fun, renter-friendly headboard with built-in storage. For about $30, a 4×8 sheet can be cut to size and decorated with bold paint.
S-hooks, shelves, and clip lights make it infinitely flexible, and it’s easy to rearrange without damaging walls.
5. Woven Rope Design
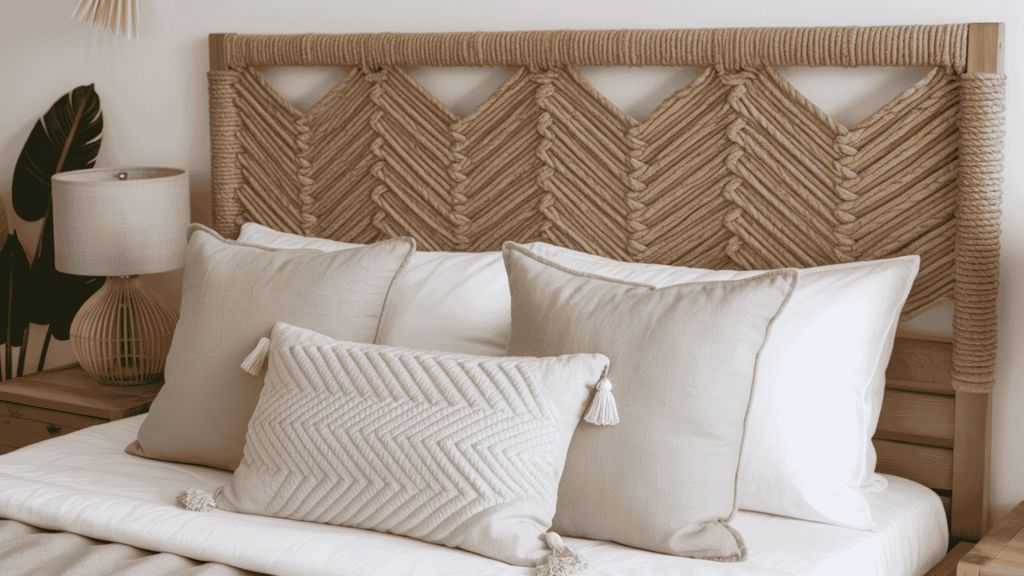
A simple wooden frame and thick rope can change into a boho-inspired statement piece. The rope is woven through drilled holes to create patterns like stripes or chevrons.
Natural jute offers an earthy feel, while colored rope adds a touch of personality. It takes a few hours, but the handcrafted result looks magazine-worthy.
6. Bench Back Headboard
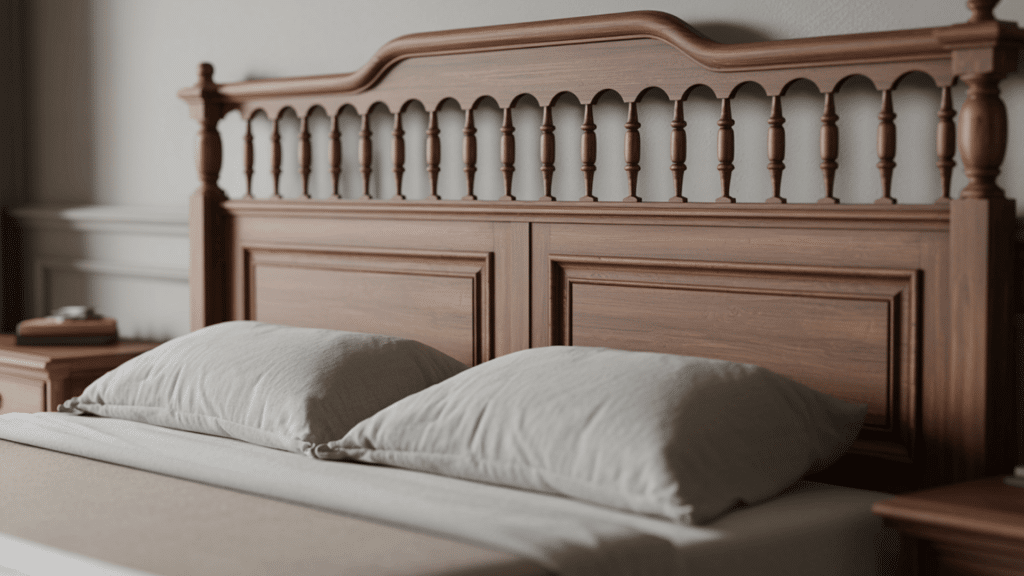
Change an old bench into a unique headboard by removing its legs and mounting the decorative back portion to your bedroom wall.
This creative upcycling project works beautifully with vintage church pews or antique garden benches, instantly adding carved details and timeless character to your space while saving money and preserving architectural charm.
7. Painted Geometric Pattern
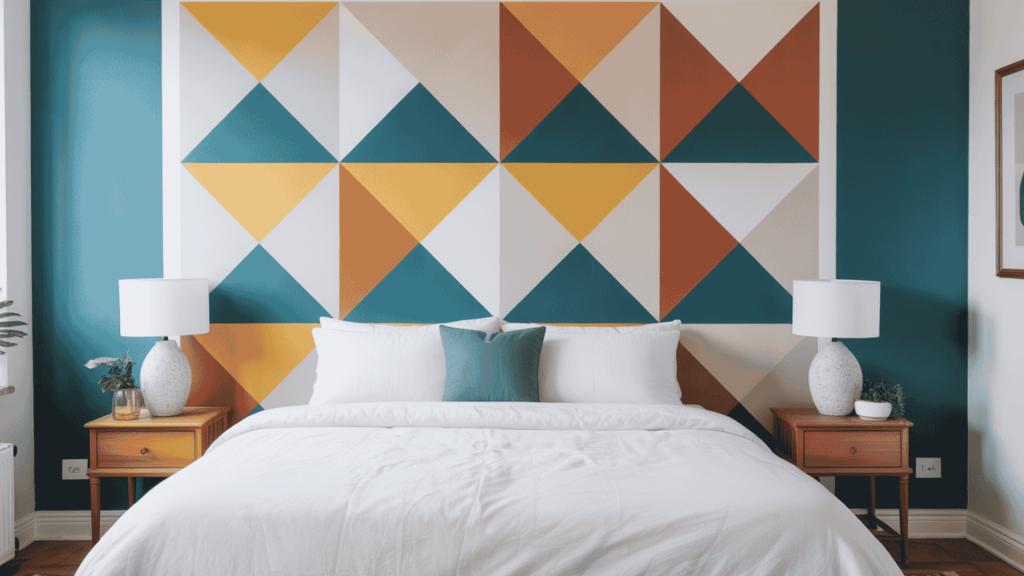
Sometimes, all it takes is paint to modify your space. Using painter’s tape, you can create bold geometric shapes like triangles, stripes, or even mountain peaks directly on the wall.
It’s incredibly budget-friendly and completely renter-approved since it’s just paint.
The best part? It instantly turns that plain, boring wall into a striking focal point that looks way more expensive than it actually was.
8. Ladder Headboard
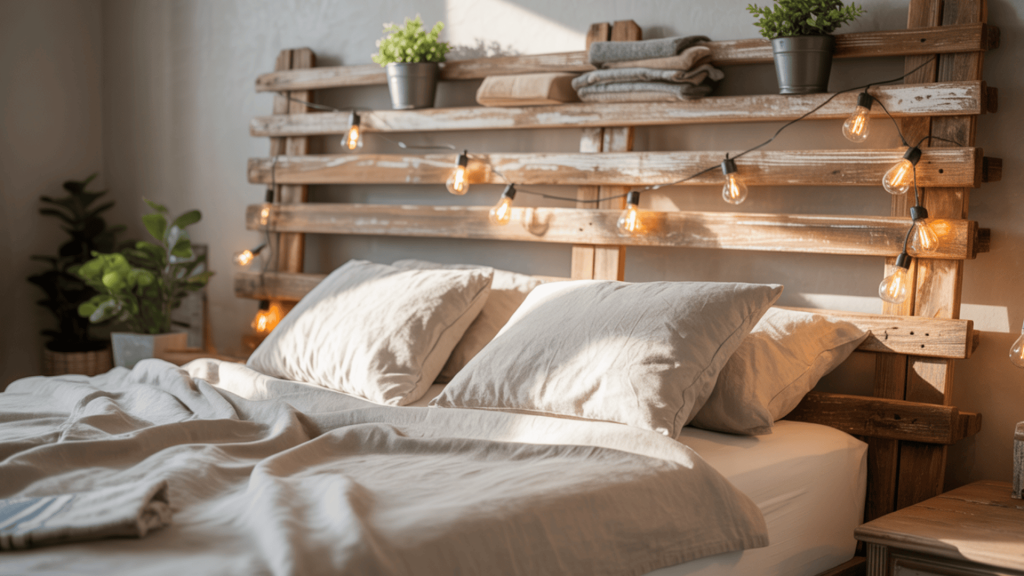
An old wooden ladder makes a charming rustic headboard that combines decorative appeal with functional storage.
Simply lean a vintage ladder horizontally behind your bed and use the rungs to display throw blankets, hang string lights, or showcase small potted plants and décor items.
This no-tools-required solution costs nothing if you already have a ladder, instantly adds farmhouse character with its weathered texture, and offers the perfect spots to drape scarves or hang reading materials within arm’s reach.
9. Freestanding Screen headboard
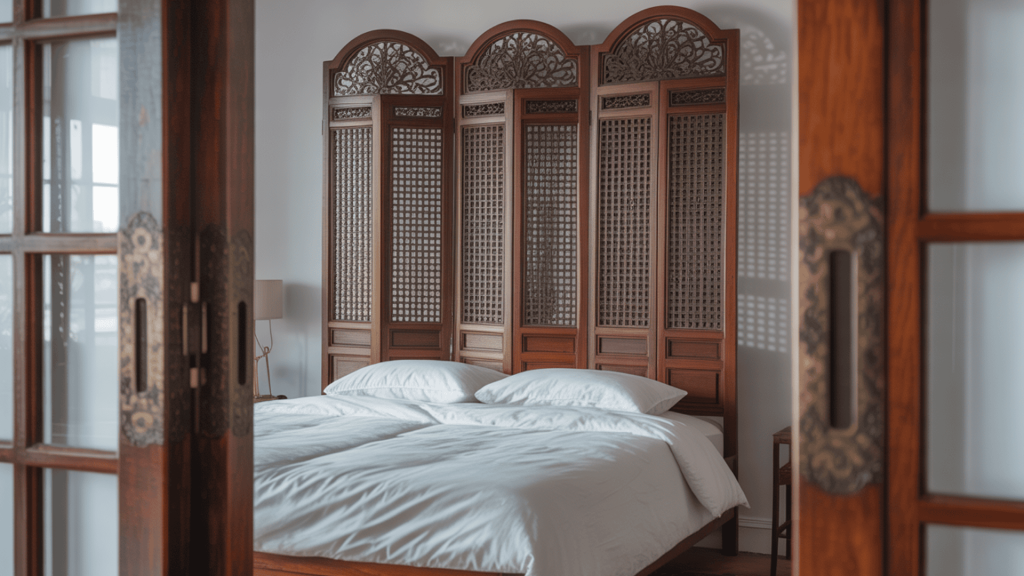
A freestanding screen divider serves as a diverse headboard alternative, requiring no wall mounting or permanent installation.
Simply position a decorative folding screen, vintage room divider, or Japanese-style shoji panel behind your bed to create instant visual interest and define your sleeping space.
This portable solution offers flexibility to change your bedroom’s look seasonally, making it ideal for renters who can’t alter walls.
It adds depth with options like carved wood, upholstered fabric, bamboo, or metal designs that complement any decor style.
10. Book Lover’s Dream
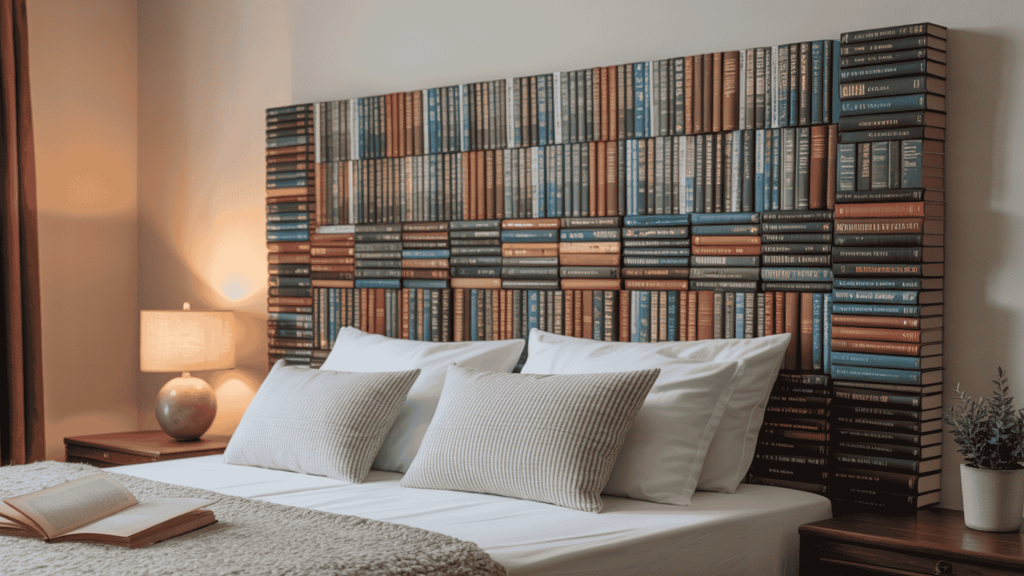
Hardcover books become a creative headboard when mounted on the wall in grids or patterns. Arranged by color, size, or theme, they add warmth and personality to the bedroom.
Affordable and removable, the display can evolve as new favorites are collected.
11. Macrame Masterpiece
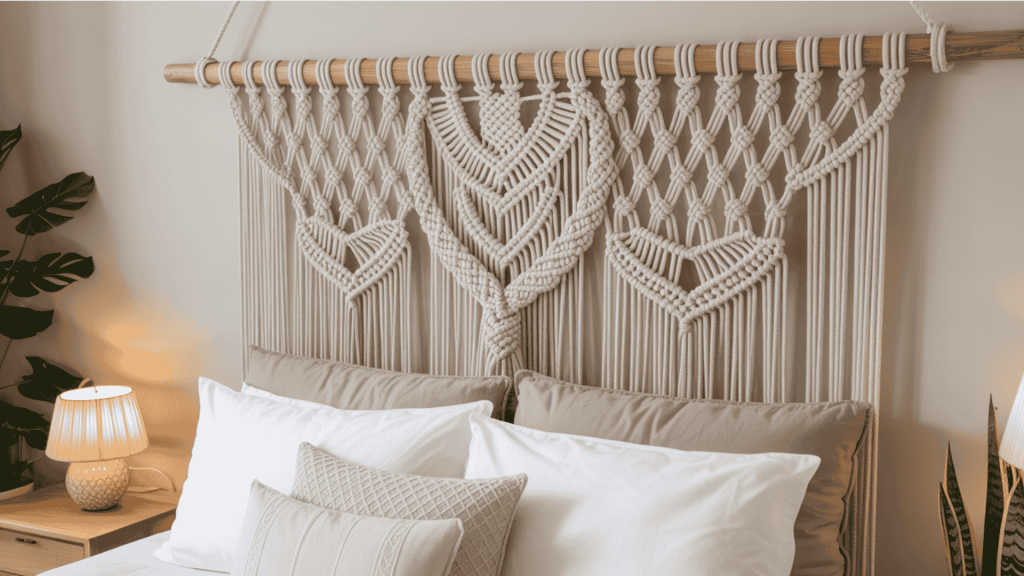
Knotted cotton rope hung from a wooden dowel creates a textured, bohemian headboard. Simple knots or intricate designs add personality, while natural or dyed cords set the mood.
It takes a little patience, but the handmade finish feels cozy and unique.
12. Shutter Chic
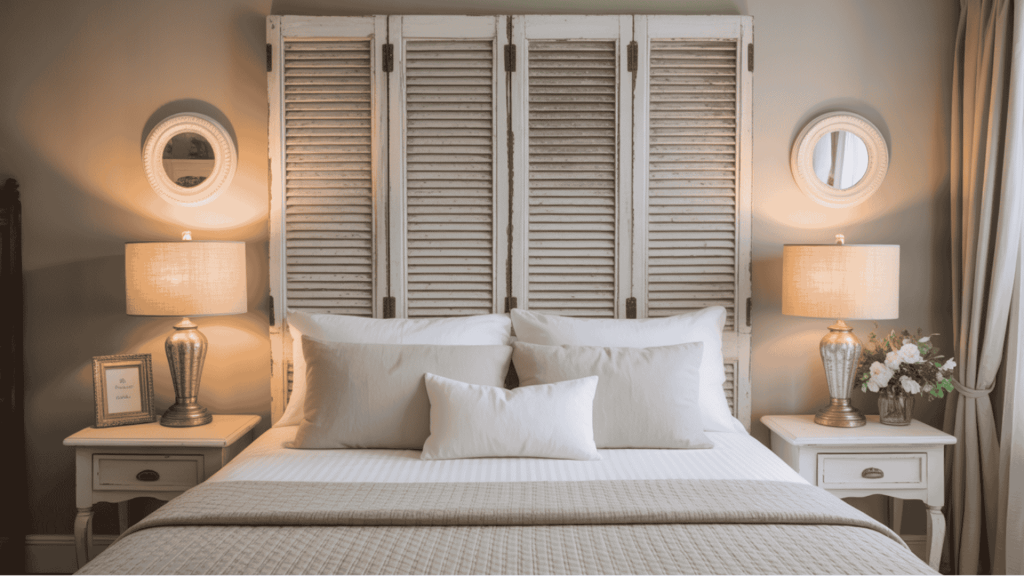
Old shutters repurposed as a headboard bring farmhouse charm to any room. Painted, distressed, or left rustic, they add instant character.
Affordable and easy to mount, they’re also diverse enough to hold lights or small plants for a cozy cottage feel.
13. Rattan or Bamboo Mat Board
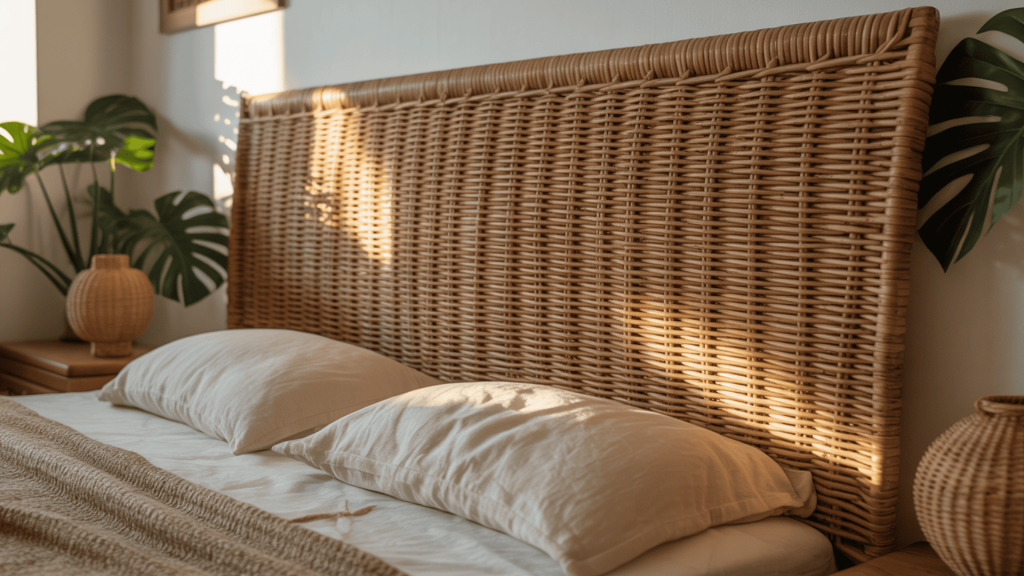
A rattan or bamboo mat board creates an instant tropical headboard with natural texture and bohemian flair.
Simply mount a large woven mat, bamboo panel, or series of smaller placemats directly to the wall using adhesive strips or picture hooks for a lightweight, damage-free installation.
This affordable option brings organic warmth and coastal vibes to any bedroom, costs under $30, and pairs beautifully with neutral linens and houseplants for that coveted boho-chic or island-inspired aesthetic.
14. Industrial Pipe Frame
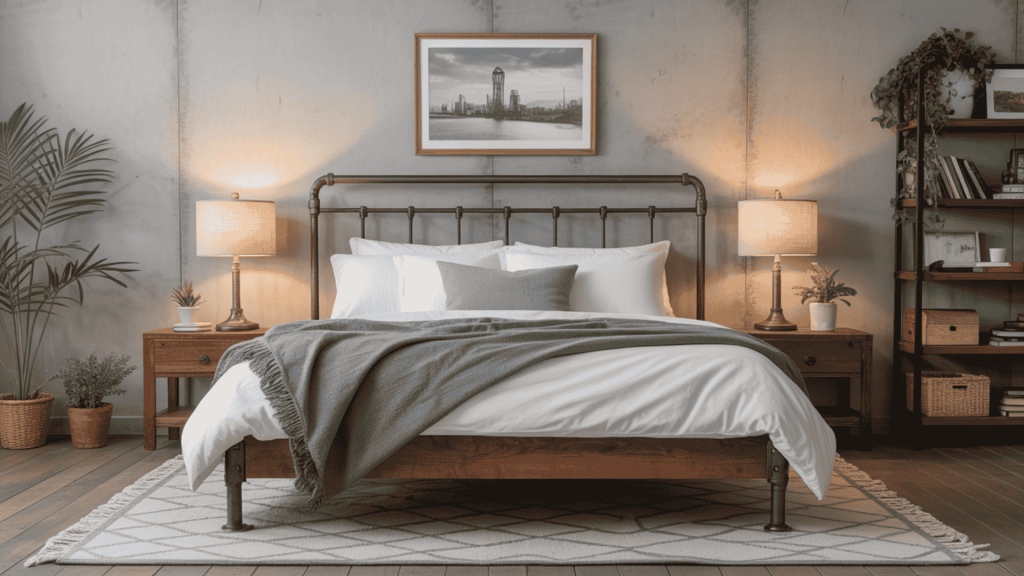
Metal pipes joined into a frame give the bed an urban, loft-style edge. Adding Edison string lights or wooden shelves softens the look and makes it practical.
Pipes can be painted for a modern twist, and the bold design doubles as a statement piece.
15. Living Wall Garden
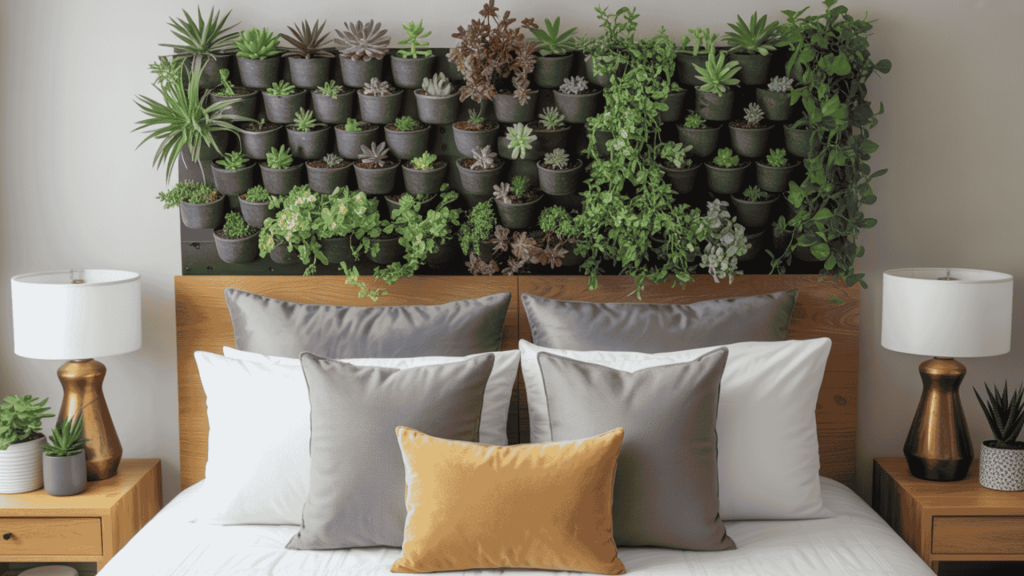
A vertical garden turns a headboard into a living piece of décor. Pocket planters filled with succulents or trailing plants add greenery, freshness, and natural beauty.
With a small investment, this idea creates a calming, one-of-a-kind bedroom centerpiece.
Smart Tips to Make Every DIY Headboard Shine
Even the simplest homemade headboard ideas that are cheap can look polished with the right approach. Measure carefully, play with textures, and add lighting to elevate your project.
- Measure Twice, Cut Once: Careful preparation saves time and avoids costly mistakes.
- Play with Texture: Mix wood, fabric, or rope to keep the design interesting.
- Add Lighting: LED strips or fairy lights instantly create a sense of warmth and style.
- Keep it Balanced: Let the headboard extend slightly past the bed for a finished look.
- Cherish Imperfections: Rustic wood tones or visible texture add character.
The Bottom Line
I was surprised at how quickly my bland bedroom wall changed, and you can do it too.
This DIY headboard shows that anyone can create designer-style décor for under $50 without setting foot in an expensive furniture store. You can do it too.
These homemade headboard ideas that are cheap and classy can help you perfectly decorate your home.
Don’t let budget hold back your bedroom dreams; gather the supplies, and you’ll learn how to make a headboard that looks high-end but costs very little.

