
Store-bought hair gel is expensive, full of chemicals you can’t pronounce, and somehow always runs out at the worst possible moment.
But here’s the thing: you can whip up your own natural hair gel right in your kitchen with ingredients you probably already have.
If you are after a light, flexible hold for everyday styling or something stronger for those special occasions, DIY hair gel delivers exactly what you need when you learn how to make hair gel at home.
Also, it takes less than 10 minutes to make a batch that’ll last weeks. Ready to learn how easy it is to create your own homemade hair gel?
What Makes Homemade Hair Gel so Effective?
This homemade gel works because it uses two simple ingredients that complement each other perfectly when learning how to make hair gel.
They release a natural, gel-like substance that holds hair in place without flaking or becoming crunchy.
The most common ingredient, which is aloe vera, emerges as the moisturizing hero, smoothing frizz and keeping hair soft, whereas store-bought gels often leave it dry and stiff.
Aloe vera locks in that moisture and makes hair easier to work with.
By learning how to make hair gel yourself, you can craft a formula that defines curls, tames flyaways, and leaves your hair healthy-looking instead of coated in product.
Also, it won’t leave that dreaded helmet-hair feeling or white flakes on shoulders.
Ingredients and Tools Required
Having everything prepped before you start turns a potentially messy process into a smooth 10-minute project. Fresh aloe makes a noticeable difference in texture, but bottled aloe vera gel works in a pinch.
| Category | Item | Amount/Type | Purpose |
|---|---|---|---|
| Base Ingredients | Whole flaxseeds | ¼ cup | Creates natural hold and gel texture |
| Fresh aloe vera leaf | 1 large leaf | Adds moisture and fights frizz | |
| Filtered water | 2 cups | Clean base for gel extraction | |
| Amplifiers | Essential oil | 3-5 drops | Scent + scalp benefits (lavender/peppermint) |
| Vitamin E oil | ½ teaspoon | Preserves gel + extra nourishment | |
| Tools | Medium pot | 1 | For boiling the flaxseed mixture |
| Cheesecloth/strainer | 1 | Separates gel from seeds | |
| Glass jar with lid | 1 | Storage container | |
| Wooden spoon | 1 | Won’t react with ingredients | |
| Sharp knife | 1 | Aloe prep |
Pro Tip: Double the batch and freeze half in ice cube trays for single-use portions that stay fresh for months.
How to Make Hair Gel at Home: Step-by-Step Process
This foolproof method breaks down the gel-making process into five simple steps that anyone can master, even if you’ve never DIY’d a beauty product before.
Each stage builds naturally on the last, from extracting fresh aloe vera gel to combining it with nutrient-rich flaxseed gel for the perfect balance of hold and moisture.
Step 1: Prepare the Aloe Vera Gel
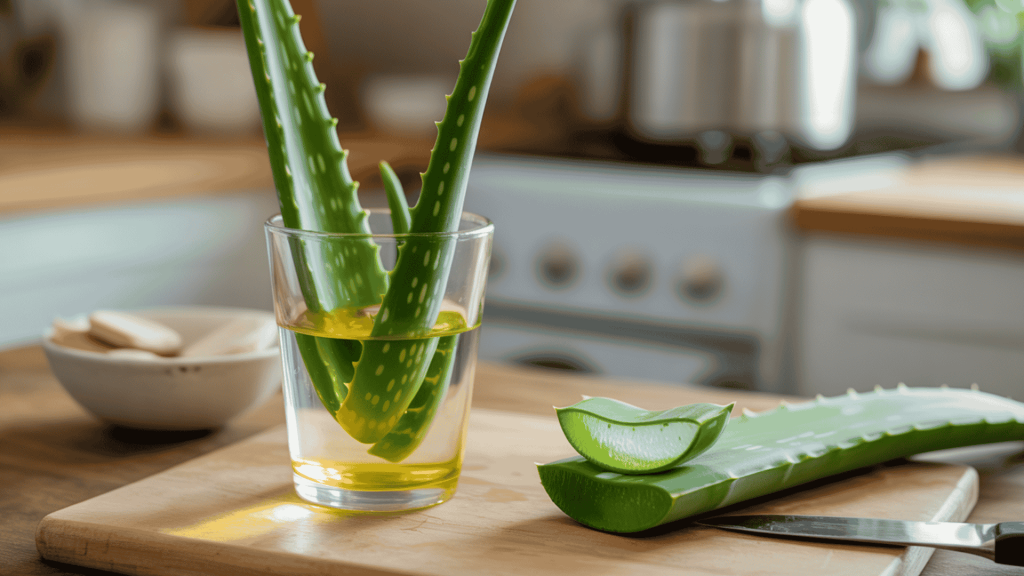
Start by cutting a large aloe leaf at the base and prop it upright in a cup for 10-15 minutes. This lets the yellow latex drain out, which can irritate sensitive skin.
Once drained, peel the green skin with a sharp knife and scoop out that crystal-clear gel inside. Give it a quick mash with a fork until it’s slightly chunky but workable, then set aside.
Quick Tips:
- Yellow latex = bad news for skin, so don’t skip the draining
- Save aloe scraps for sunburn relief
- Bottled aloe works if fresh isn’t available
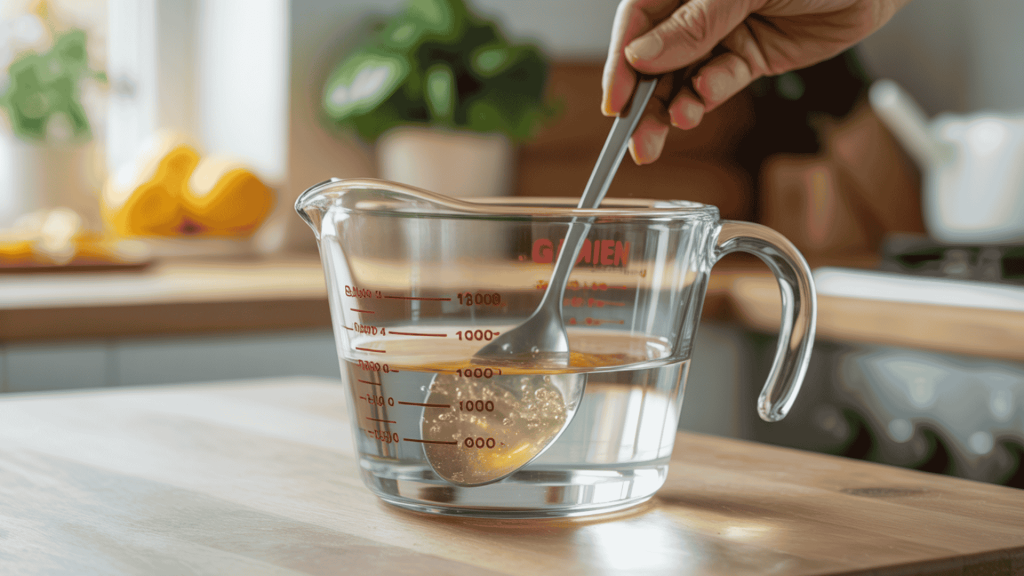
Step 2: Extract the Flaxseed Gel
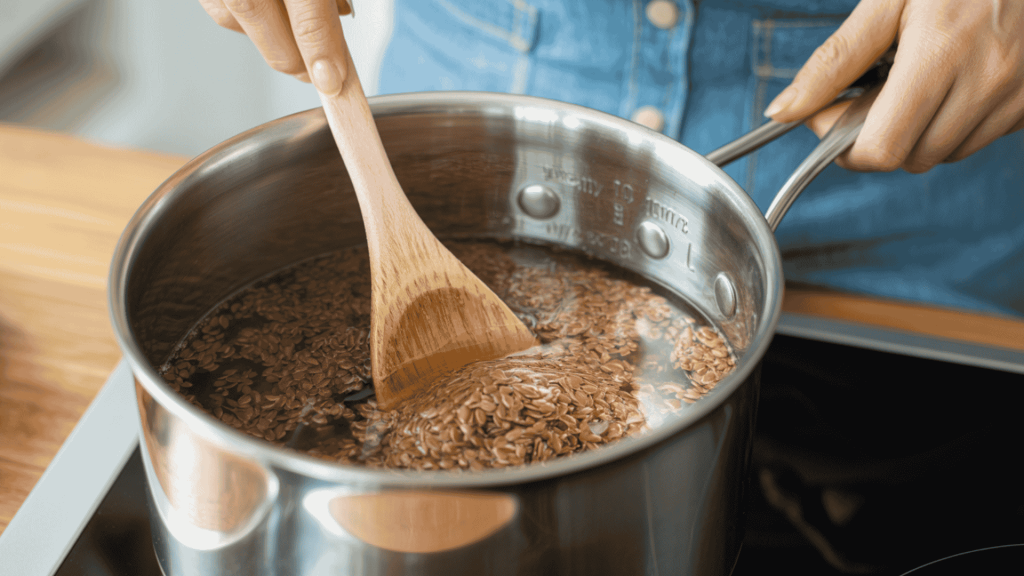
Combine flaxseeds and water in your pot, bringing the mixture to a rolling boil before reducing to a gentle simmer. Keep stirring every minute or two for approximately 7-10 minutes.
You’ll notice the water getting thicker and more gel-like. The perfect consistency is when lifting your spoon creates a jelly-like trail that doesn’t immediately disappear back into the pot.
Key Points:
- Don’t walk away, this mixture loves to bubble over
- Too thick? Add water. Too thin? Cook longer
- The gel thickens more as it cools
Step 3: Strain the Gel
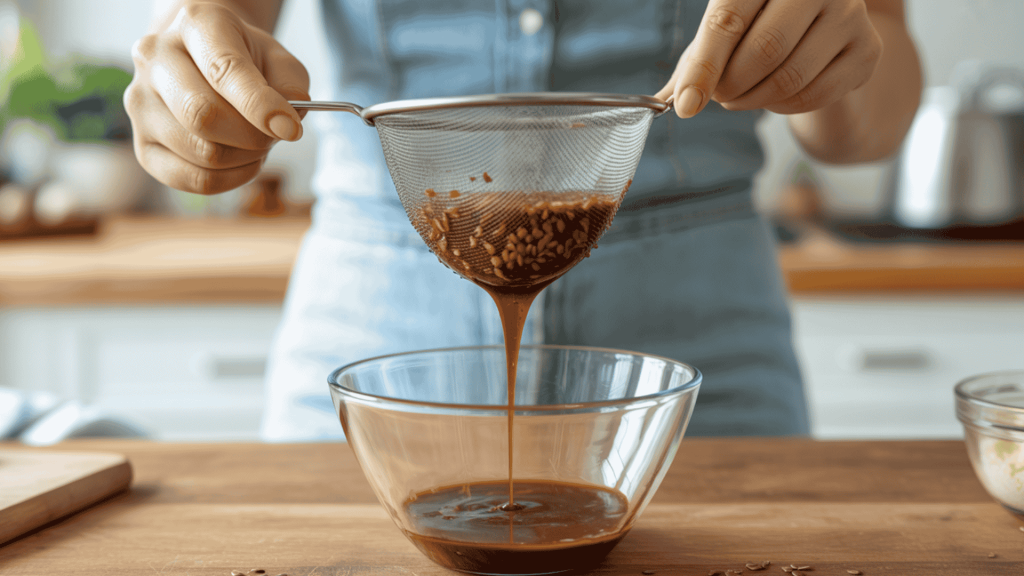
Let your cooked mixture cool for about 30 minutes. Hot gel is harder to strain and might burn your hands.
Pour everything into a cheesecloth-lined bowl, gather the corners, and squeeze firmly to extract all that precious gel. Those leftover seeds make great compost or can be mixed into smoothies for extra fiber.
Straining Hacks:
- Work quickly, gel gets harder to strain as it cools
- Use a spoon to press the mixture through if squeezing gets tough
- Double-layer cheesecloth prevents seeds from sneaking through
Step 4: Blend and Boost

Mix your prepared aloe vera into the warm flax gel while it’s still workable, stirring until completely combined.
Add 3-5 drops of your chosen essential oil: lavender for calming, peppermint for tingle, or rosemary for growth. A half teaspoon of vitamin E oil extends shelf life from days to weeks.
Mixing Notes:
- Warm gel blends more easily than cold gel
- Start with less essential oil, you can always add more
- Whisk briefly for extra smoothness
Step 5: Store and Use

Pour your finished gel into a clean glass jar and pop it in the fridge, where it’ll stay fresh for about two weeks. Apply to damp hair by scrunching into curls, smoothing over edges, or defining twist-outs and braid-outs.
A little goes a long way; start with a dime-sized amount and build up as needed.
Storage & Application:
- Label with the date to track freshness
- Gel may separate slightly; just shake before use
- Freeze extras in ice cube trays for a 3-month shelf life
Other Homemade Hair Gel Recipes to Try
Not every hair type needs the same kind of gel, and that’s the beauty of DIY: you can tweak it to suit your own hair. Here are a few easy recipes anyone can try at home, each designed with different needs in mind.
1. Chia Seed Hair Gel
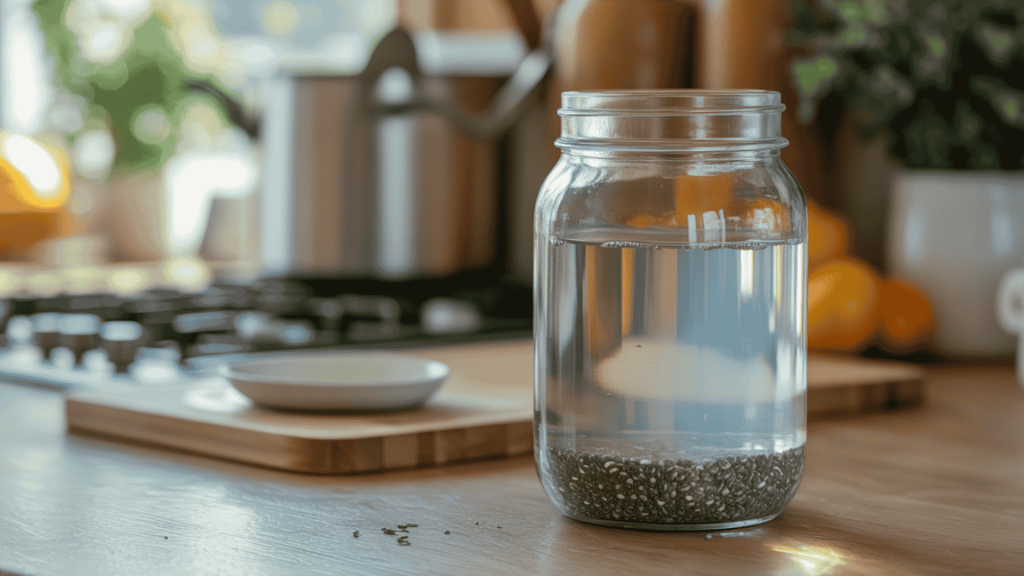
Chia seeds are soaked overnight in two cups of water until they form a slippery, gel-like liquid. The mixture is then strained through a sieve or cloth, leaving behind a smooth, nutrient-rich gel.
This natural recipe is simple, effective, and works well for defining curls.
- Best For: Curly hair needing definition and elasticity
- Shelf Life: 1 week refrigerated
- Benefits: Rich in omega-3, Boosts curl pattern, adds softness
- Customization: Mix in lavender or peppermint oil for scent and scalp care
2. Cornstarch Hair Gel
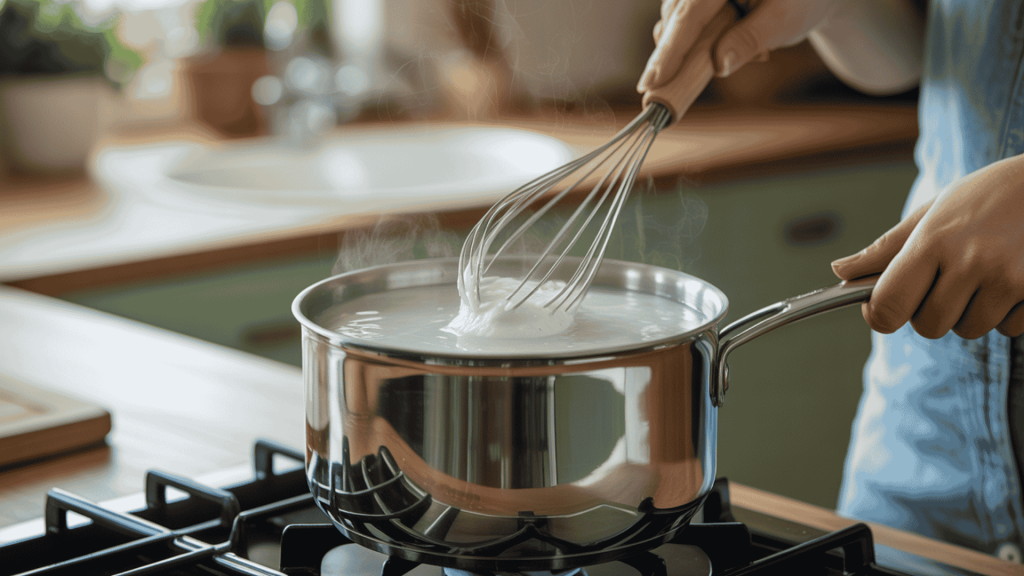
Cornstarch is whisked into one cup of water and gently heated until it thickens into a translucent gel. After cooling, a few drops of essential oil are added for fragrance.
This lightweight gel smooths straight strands and keeps flyaways in place without leaving a stiff residue.
- Best For: Straight hair needing light control
- Shelf Life: 3–5 days refrigerated
- Benefits: Lightweight hold, smooths frizz, soft finish
- Customization: Blend in aloe vera gel for added hydration
3. Aloe Vera & Honey Gel
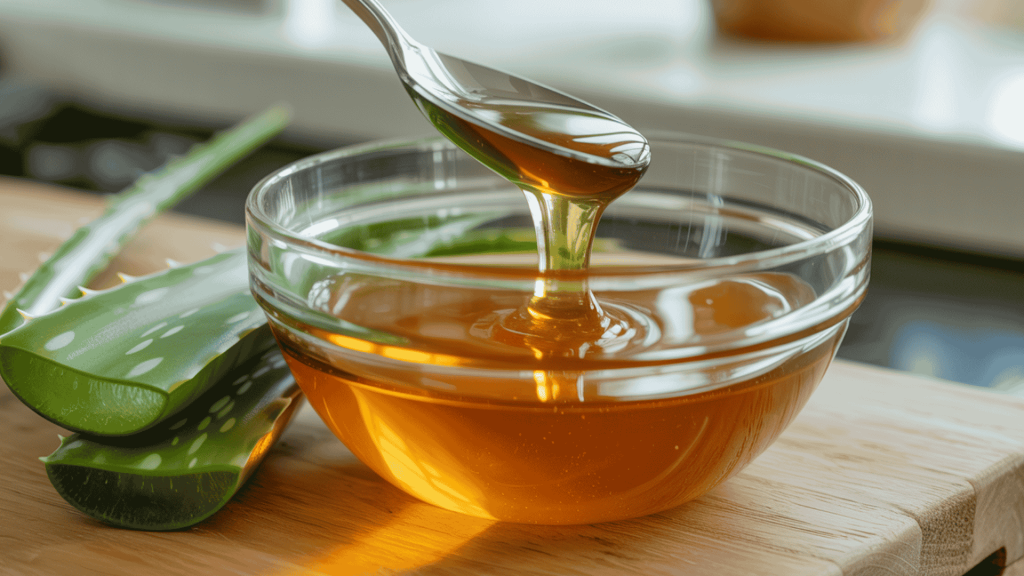
Fresh aloe vera gel is blended with raw honey until silky and uniform. This simple mixture creates a moisturizing gel that nourishes hair, locks in shine, and tames dryness.
With just two natural ingredients, it hydrates strands without leaving them sticky or heavy.
- Best For: Dry hair needing hydration and frizz control
- Shelf Life: 1–2 weeks refrigerated
- Benefits: Deep moisture, natural shine, softens rough ends
- Customization: Add tea tree oil for scalp health
4. Gelatin Hair Gel
A teaspoon of unflavored gelatin is dissolved in one cup of warm water until fully blended. The mixture is chilled until it sets, then stirred to achieve a gel-like texture.
This creates a lightweight product that gives fine hair gentle structure without stickiness or heaviness.
- Best For: Fine hair needing gentle hold
- Shelf Life: 1 week refrigerated
- Benefits: Lightweight hold, adds structure, non-sticky finish
- Customization: Use chamomile tea instead of plain water for soothing benefits
5. Hibiscus Hair Gel
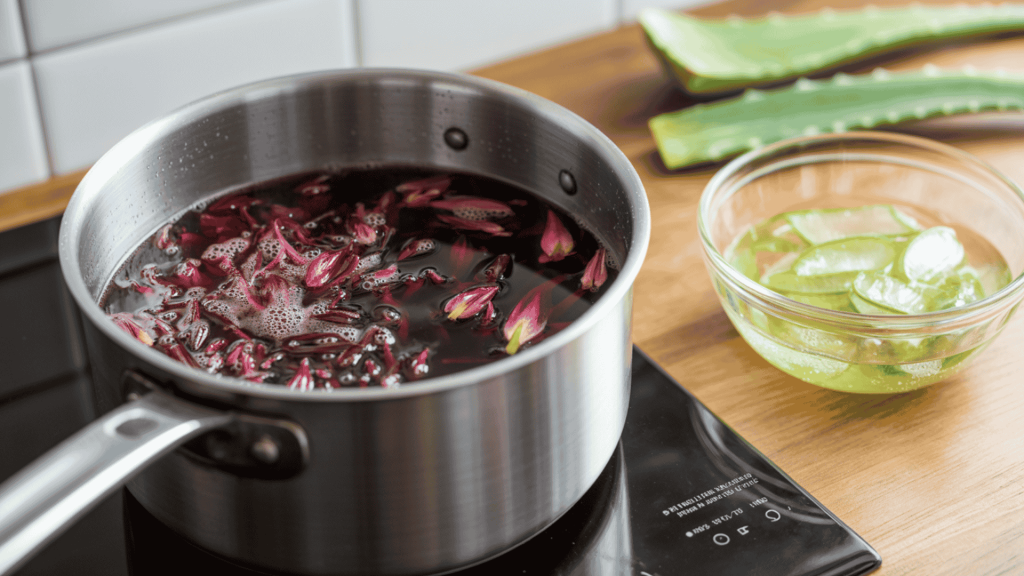
Hibiscus petals are simmered in one cup of water for several minutes to release their rich color and nutrients.
After straining, the liquid is blended with fresh aloe vera gel, forming a glossy mixture that naturally boosts shine and strengthens strands.
- Best For: Dull hair needing extra shine
- Shelf Life: 1 week refrigerated
- Benefits: Vitamin-rich, boosts luster, conditions strands
- Customization: Add glycerin for longer-lasting moisture
6. Okra Hair Gel
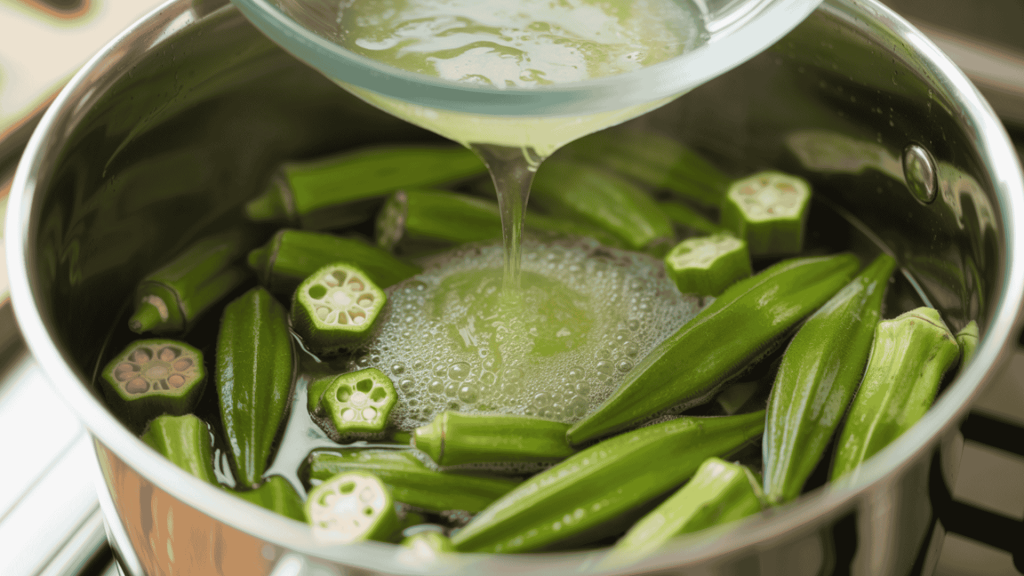
Sliced okra pods are boiled in two cups of water until the mixture thickens into a slippery consistency.
Once strained and cooled, the gel offers exceptional slip, making detangling easier while deeply moisturizing thick and coily textures. It’s a natural conditioner in gel form.
- Best For: Thick or coily hair needing moisture and slip
- Shelf Life: 5–7 days refrigerated
- Benefits: High slip for detangling, softens strands, boosts moisture
- Customization: Stir in coconut oil for richer conditioning
Mastering Texture, Hold, and Longevity in Homemade Hair Gel
Achieving the best results from homemade hair gel hinges on understanding a few key factors that influence texture, longevity, and performance.
Since this natural formula skips synthetic preservatives, proper storage in the refrigerator extends its life to about two weeks; however, freezing portions can stretch that to three months.
The beauty of DIY gel lies in customization; simmering the flaxseeds for a longer period creates a stronger hold for stubborn curls, while adding extra aloe delivers a lighter, more flexible finish, perfect for loose waves.
Essential Know-How:
- Storage Smart: Fresh gel stays good for 14 days refrigerated; freeze extras in ice cube trays
- Texture Control: Longer cooking time symbolizes thicker gel; more aloe depicts lighter hold
- Money Saver: Growing an aloe plant costs less than buying leaves weekly
- Best Uses: Perfect for curl definition and frizz control, not for slicked-back styles
- Batch Wisdom: Double the recipe and freeze half for busy mornings
- Climate Adjust: Add more aloe in humid weather; less in dry conditions
Finishing Notes
This homemade hair gel shows that good hair care doesn’t need to be expensive or complicated.
With flaxseeds and aloe vera, anyone can create a styling product that nourishes, defines, and keeps hair soft, all without the harsh chemicals found in store-bought gels.
It’s natural, customizable, and easy to refresh every two weeks. Readers are encouraged to try the recipe, experiment with essential oils, and adjust the consistency to suit their hair type.
For those seeking a budget-friendly and healthier alternative, this DIY gel is the ideal starting point. Don’t wait; set aside time, make a batch, and enjoy confidence in knowing what’s happening to your hair.